How to Record a Meeting in Teams The Easy Way
Learn how to record a meeting in Teams with this complete guide. Get actionable tips on permissions, storage, sharing, and best practices.
tl;dr: To record a meeting in Teams, just join your call, click the three dots (...) for 'More actions', and hit 'Start recording'. Everyone gets a notification banner. To stop, just follow the same steps and click 'Stop recording'.
Your Quick Guide to Recording a Teams Meeting
Knowing how to record a Teams meeting is pretty much essential for anyone working remotely or in a hybrid setup. It’s the easiest way to make sure colleagues who couldn't make it can catch up later and that you have a solid record of important decisions.
But before you jump in and hit that record button, there are a few things to check. You'll want to be sure you have the right permissions, know where the final video file will end up, and remember to get consent from everyone on the call. This is your quick-start guide to doing it right.
Think of it as a simple three-step dance: check permissions, start the recording, then find the video.
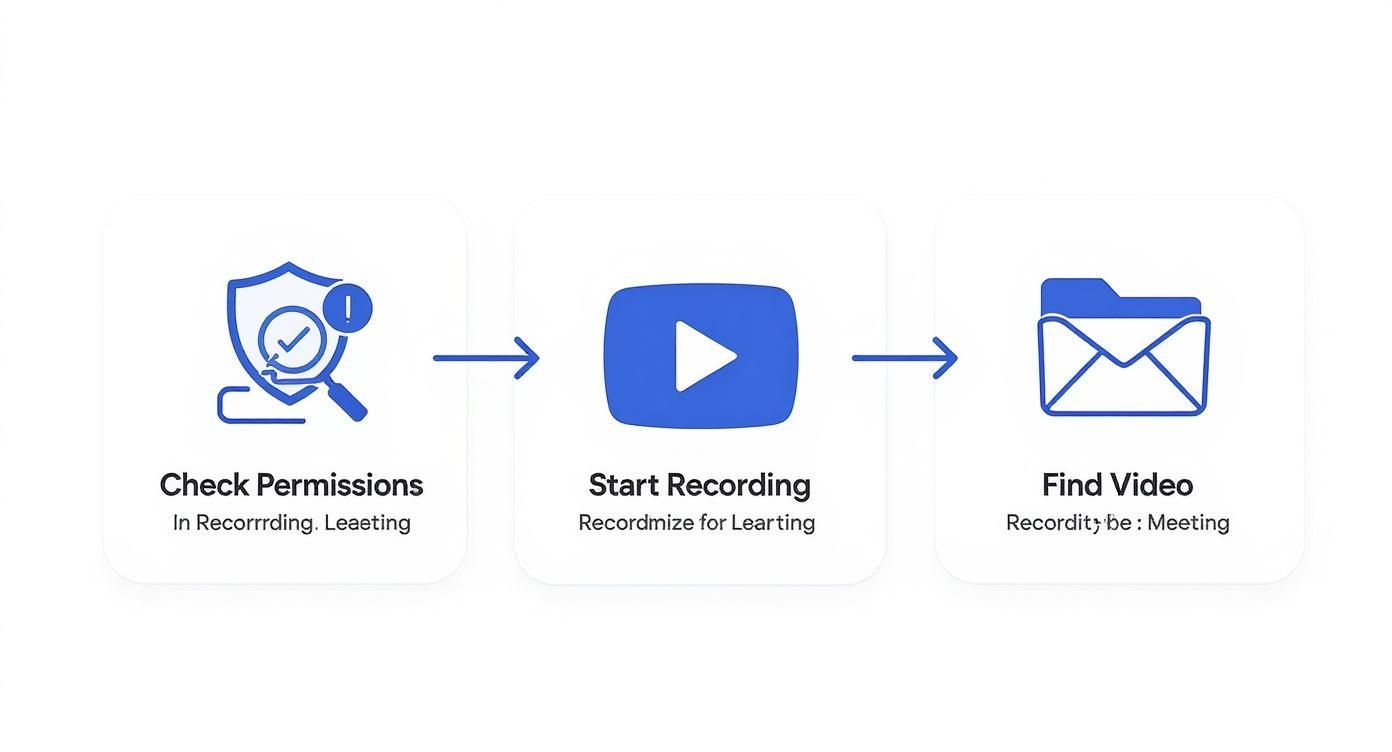
This little flow chart shows that successful recording is more than just clicking a button. It starts with a quick permissions check and ends with knowing exactly where to find your file.
Key Things to Know Before You Record
Who can actually record a Teams meeting? It really depends on your company's settings and your role. Usually, the meeting organizer and anyone else from inside the same organization can start a recording. Guests and external folks? Not so much.
My Go-To Tip: Even though Teams shows that automatic banner, I always make a quick verbal announcement like, "Alright everyone, I'm starting the recording now." It's a small courtesy that goes a long way in building trust.
With over 320 million people using Teams every month, features like this are a big deal. Recording is how we capture and share knowledge from the billions of meeting hours happening across the platform. For a deeper dive, check out some best practices on effectively using meeting recording software for Teams.
Once you wrap up, Teams processes your video and saves it. For private meetings, it lands in your OneDrive. For meetings in a specific channel, it goes to that channel's SharePoint site.
Of course, a recording is just the start. To really get the most out of it, you'll probably want to transcribe it. We have a great resource for that right here: https://whisperai.com/guides.
Teams Meeting Recording At a Glance
Feeling a bit lost on where to find the record button or who can use it? This table breaks it down for you across the different ways you might be using Teams.
| Platform | Where to Find the Record Button | Who Can Record? | Primary Storage Location |
|---|---|---|---|
| Desktop App (Windows/Mac) | More actions (...) menu in the meeting controls | Organizer & internal participants (by default) | OneDrive or SharePoint |
| Web Browser (Chrome/Edge) | More actions (...) menu in the meeting controls | Organizer & internal participants (by default) | OneDrive or SharePoint |
| Mobile App (iOS/Android) | More actions (...) menu | Organizer & internal participants (by default) | OneDrive or SharePoint |
As you can see, Microsoft keeps the experience pretty consistent whether you're on your computer or your phone. The key takeaway is always to check with your IT admin if the record option isn't showing up for you, as they control the master permissions.
A Visual Guide to Recording Your Teams Meeting
So, you know you can record a Teams meeting, but what does that look like in practice? Let's walk through the exact steps for starting, managing, and stopping a recording during a live call. It's simpler than you might think.
Once you’re in the meeting and have everyone's go-ahead to record, the controls are easy to find. The good news is that whether you're using the desktop app or the web version of Teams, the layout is nearly identical. No need to hunt for hidden buttons while your colleagues are waiting.
Starting the Recording and Transcription
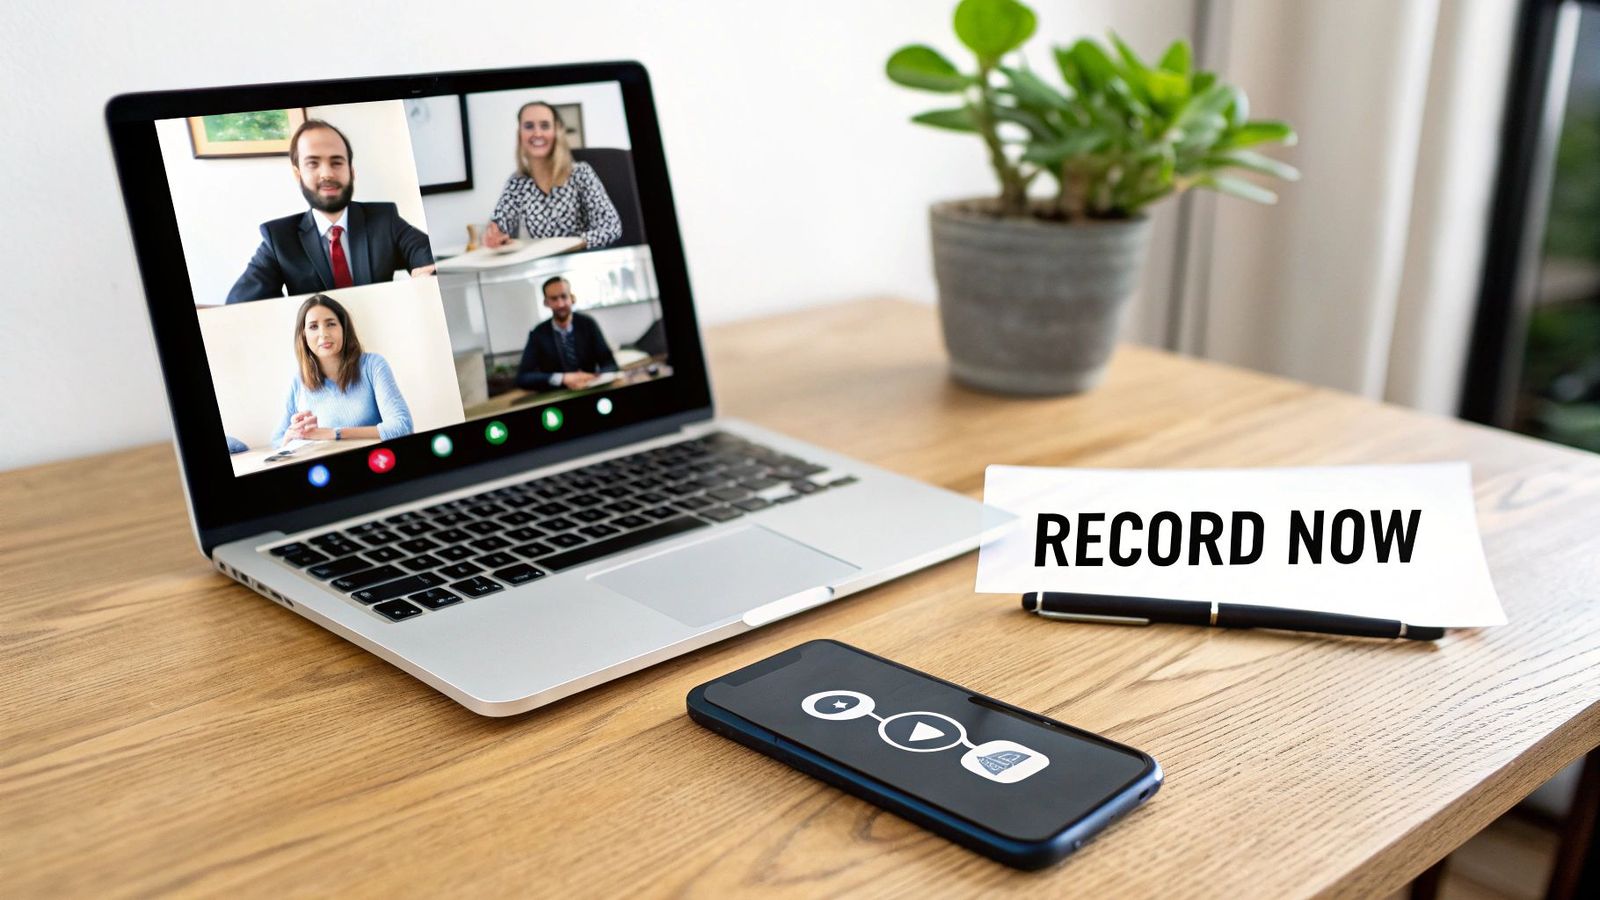
First, find the meeting control bar—it’s usually docked at the top of your screen. From there, click on the three dots (...) to open the More actions menu.
In this menu, you’ll see an option to Start recording. Click it, and you’re live. Teams will immediately start capturing everything: the audio, video, and any content being shared on screen.
You'll also see an option to Start transcription. I highly recommend doing this at the same time. The real-time transcript is incredibly useful for searching key terms later.
When you start recording, a notification banner pops up at the top of the meeting window. This is a crucial privacy feature, as it clearly informs all participants that the session is being recorded and transcribed. Anyone who joins late will also see this banner, ensuring everyone is on the same page.
In-Meeting Recording Controls
Once you're recording, the options under the More actions menu will change. Now you'll see choices to pause or stop. Knowing when to use each one is key to getting a clean final video.
- Pause Recording: Perfect for short breaks. If the team is taking a five-minute bio-break or a side conversation pops up, hit pause. It keeps everything in one video file but just omits the paused segment.
- Resume Recording: This pops up once you've paused. Just click it to pick up where you left off in the same recording.
- Stop Recording: Only use this when the meeting is well and truly over. Stopping finalizes the video file. If you hit record again in the same meeting, you’ll end up with a completely separate video file.
Pro Tip: If you're running a long workshop with scheduled breaks, always use Pause instead of Stop. It saves you the headache of juggling multiple video files for what was essentially one single session. Trust me, it’s a lifesaver.
Turning on live transcription is a great habit to get into. The text is generated as you speak and becomes a searchable, valuable part of the meeting record. If you ever need to turn that transcript into polished captions, our guide on creating video transcription subtitles has you covered.
Finding and Managing Your Meeting Recordings
Alright, you’ve recorded the meeting. Now, where on earth did it go? This is one of the most common questions I hear, and the answer isn't always straightforward because it depends entirely on the type of meeting you just had.
Figuring out the difference between where a private call recording lives versus a channel meeting recording is the first hurdle. Once you know that, managing and sharing your content becomes a breeze, and you can start turning that raw video file into a genuinely useful asset for your team.
Where Teams Stores Your Recordings
Microsoft Teams relies on two main spots to store your meeting recordings: OneDrive and SharePoint. The one it picks is directly tied to how the meeting was started.
Here’s the simple breakdown:
- Standard Meetings or Group Calls: If you kicked off a meeting that wasn't tied to a specific Team channel—think of a quick ad-hoc call with a few colleagues—the recording lands in a "Recordings" folder in the OneDrive of whoever hit the record button.
- Channel Meetings: For any meeting that takes place inside a specific channel, Teams automatically saves the recording to that channel's SharePoint site. You'll find it in a "Recordings" folder there, making it instantly available to every member of that Team.
This distinction is more important than it sounds. It directly affects who owns the file and who can see it by default. OneDrive recordings are owned by one person, while SharePoint recordings are owned by the whole Team, making them collaborative from the get-go.
Managing and Sharing Your Recordings Securely
Once you’ve tracked down your file, you'll probably want to share it. Whether you're sending a training session to a new hire or project updates to a client, you need to control who sees it.
The good news is you can share the recording just like any other file in OneDrive or SharePoint. Just hit the "Share" button to create a link, and you’ll get a whole menu of options to control who can view or edit it.
My Practical Advice: When sharing with anyone outside your organization, I always recommend using the "Specific people" link option. This locks the video down so only the email addresses you enter can access it, which stops the link from being passed around to people who shouldn't see it.
Another incredibly handy feature is setting an expiration date on your recordings. This is a fantastic way to keep your cloud storage from filling up with old, irrelevant meetings. Many organizations have a default 60 or 120-day expiration policy, but you can always change or remove this for any recordings you need to keep long-term.
Tracking Viewer Engagement
Ever send out a link to an important all-hands recording and wonder if anyone actually watched it? While Microsoft doesn't give you a giant, company-wide dashboard for video views, you can still get some valuable insights on individual files.
Using the analytics built into Stream on SharePoint, meeting organizers can see data like total views and unique viewers for a specific recording. To dig into the details, you can check out Microsoft's documentation on Teams meetings recordings stats.
This kind of data is gold for gauging engagement and making sure your message is actually landing. It’s all part of turning a simple video file into a powerful communication tool. If you need more help managing your files, you can always visit the WhisperAI help center for extra tips and support.
Getting More Value From Your Recordings
A Teams meeting recording is more than just a video file; it's a goldmine of information. The real magic happens when you make that information searchable and easy to access. That’s where transcription comes in, turning a simple video into a valuable, long-lasting asset for your whole team.
Teams actually has a built-in transcription feature you can turn on right when you hit record. It creates a live transcript that scrolls alongside the video, which is fantastic for helping attendees follow along. Once the meeting's over, that transcript is saved with the recording. No more scrubbing through a two-hour video to find that one key comment.
Editing Your Teams Transcript for Accuracy
Let’s be honest—no automated transcript is flawless, and the one in Teams is no different. It gets you most of the way there, but you’ll probably spot some misidentified speakers or mangled technical terms.
The good news is that fixing it is pretty simple. Just open the recording in Stream (it lives on SharePoint now) and pop open the transcript panel.
- Correct Text: Click on any line of text and just start typing to fix a mistake. Easy.
- Change Speaker Names: If Teams thinks Jane said something that Bob actually said, you can quickly reassign that entire block of text to the right person.
Spending five minutes cleaning up the transcript makes a world of difference, especially if you plan on using it as an official record or for training new hires.
Taking Transcription to the Next Level
While the built-in Teams features are great for a quick reference, sometimes you just need better accuracy and more powerful tools. This is especially true for meetings filled with complex jargon, people with different accents, or when compliance is a major concern.
Using a dedicated service often gives you a much cleaner and more reliable transcript right from the start. If you're dealing with a lot of recordings, looking into dedicated AI audio transcription can be a real game-changer. These tools offer things like advanced speaker labeling and can even recognize industry-specific vocabulary that Teams might miss.
Turning a conversation into searchable text is the first step in creating a knowledge base. Every recorded meeting can contribute to a library of decisions, training materials, and project histories that new and existing team members can draw upon.
The ultimate goal here is to make every conversation reusable. For more great ideas on how to maximize the impact of your recordings and repurpose video content, check out vidfarm's blog for video best practices. By pairing high-quality recording with accurate transcription, you ensure the valuable knowledge shared in your meetings doesn't just vanish when the call ends.
Recording Meetings Legally and Ethically
Knowing how to record a Teams meeting is more than a technical skill—it’s about handling privacy and consent responsibly. Getting this right isn’t just about being polite; it's often a legal requirement and is absolutely fundamental to building trust with your team and clients.
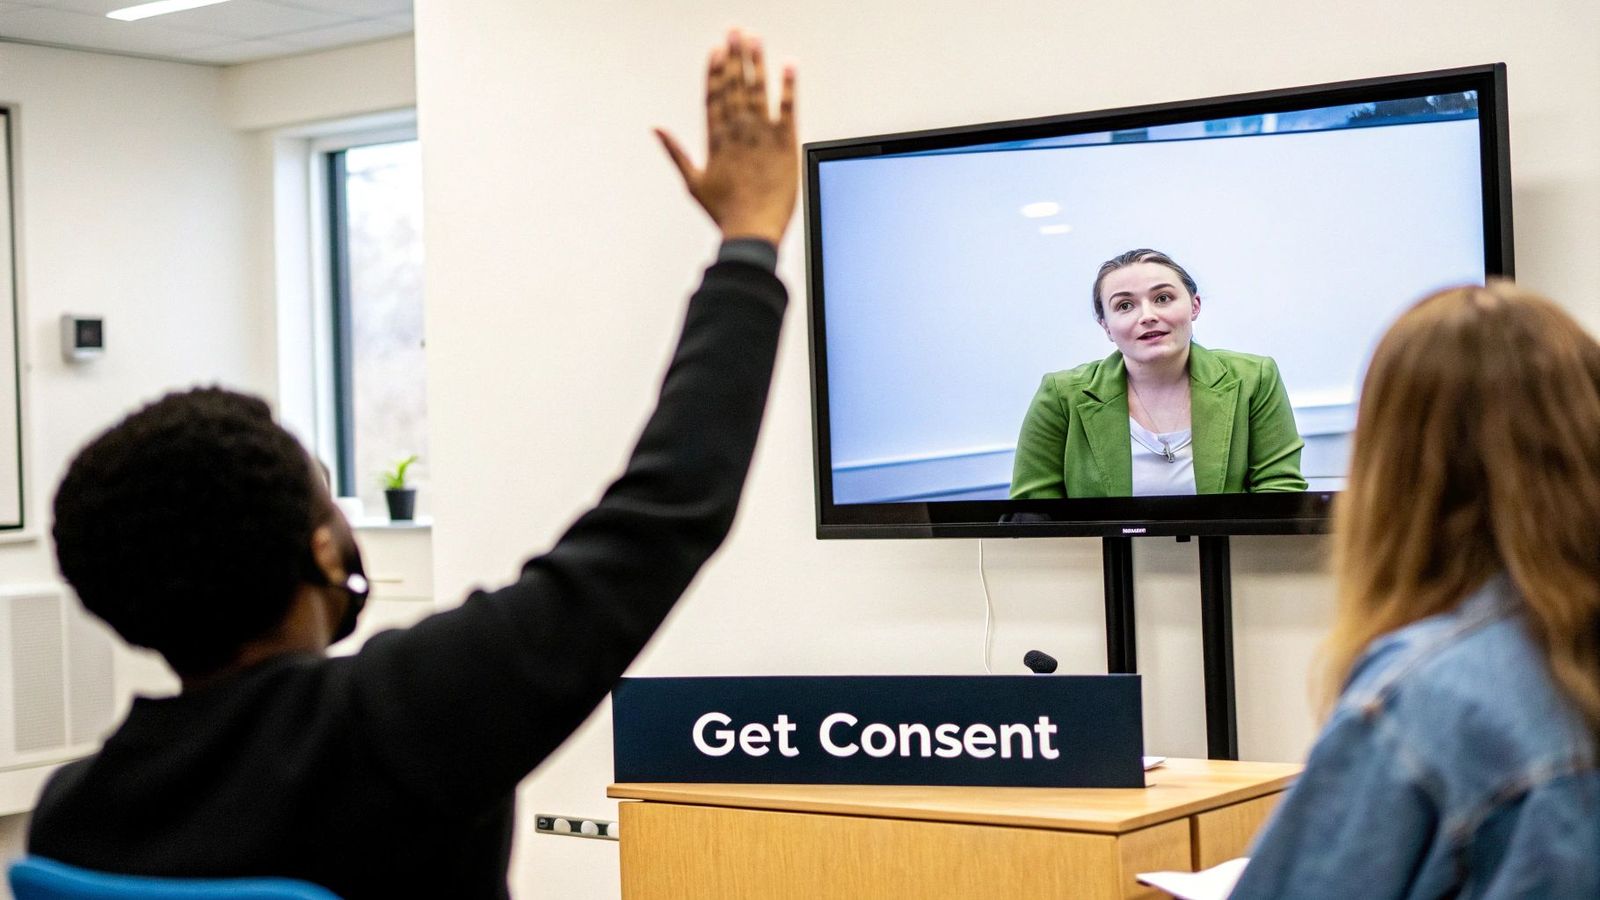
Before you even think about hitting that record button, the golden rule is to get consent from everyone involved. Teams does a good job of helping out by displaying a prominent notification banner, but you shouldn't rely on that alone.
A quick verbal announcement is always the best practice. Something as simple as, "Hey everyone, just a heads-up, I'm going to start the recording now for anyone who couldn't make it," ensures everyone is aware and has a moment to speak up if they're not comfortable.
Understanding Consent Laws
The legal landscape for recording conversations can be tricky and varies quite a bit depending on where your participants are located. Generally, these laws fall into two main categories.
- One-Party Consent: In these regions, you only need permission from one person in the conversation to record it. Good news: that one person can be you.
- Two-Party (or All-Party) Consent: This is much stricter. You need explicit consent from every single person in the conversation before you can legally record.
Since your meeting attendees could be joining from anywhere in the world, the safest and most ethical approach is to always operate as if you're under all-party consent rules. Announce you're recording and get a clear "yes" from everyone. It's that simple.
This proactive approach not only keeps you compliant but also reinforces a culture of transparency. When legal matters are on the table, creating a precise record is crucial. For more on creating accurate documentation for these situations, you can explore our detailed guide on legal transcription.
Why Your Organization Needs a Clear Recording Policy
For any business, having a clear, documented policy on meeting recordings is a must for managing risk. This policy should spell out exactly when it's appropriate to record, how recordings must be stored and shared, and how long they should be kept before being deleted. A formal policy protects both the company and its employees by setting clear, consistent expectations.
Meeting Recording Best Practices
To keep things simple, here’s a quick checklist to make sure your meeting recordings are handled professionally and ethically every time.
| Checklist Item | Why It Matters | How to Do It in Teams |
|---|---|---|
| Announce Recording | Ensures transparency and gives attendees a chance to object. It's the foundation of consent. | Make a verbal announcement at the start of the meeting before clicking "Start recording." |
| Get Explicit Consent | It's a legal requirement in many places and builds trust. The Teams notification isn't always enough. | Ask, "Is everyone okay with me recording this session?" and wait for verbal or chat confirmation. |
| State the Purpose | People are more comfortable when they know why a meeting is being recorded and who will see it. | Briefly explain the reason, e.g., "for our notes," or "for team members who couldn't attend." |
| Manage Access Securely | Protects sensitive information discussed in the meeting from unauthorized viewing. | After the meeting, review the sharing settings on the recording file in OneDrive or SharePoint. |
| Have a Retention Policy | Avoids holding onto data indefinitely, which reduces storage costs and privacy risks. | Know your company's policy and delete old recordings from OneDrive/SharePoint when they're no longer needed. |
Following these simple steps will help you stay on the right side of legal requirements while fostering an environment of respect and trust within your organization.
Troubleshooting Common Teams Recording Questions
Even after you've recorded a few meetings, you're bound to hit a snag or two. It happens to everyone. Before you spend an hour digging through support forums, let's walk through some of the most common issues and questions that pop up.
Most of the time, the fix is surprisingly simple.
Why Can’t I Record a Meeting? The Button is Greyed Out.
This is, by far, the most frequent problem people run into, and it almost always comes down to permissions. If that "Start recording" button is unclickable, there are a couple of things to investigate.
First, your organization's IT admin might have recording disabled for you or your specific user group. They hold the keys to the kingdom here, and if they've turned off that feature, there's not much you can do from your end besides asking them to enable it.
Your role in the meeting also matters. Guests and external attendees from another organization usually can't start a recording. Also, if someone else has already hit record, the button will be greyed out for everyone else. Teams only allows one active recording at a time.
Can I Record a One-on-One Call in Teams?
You sure can! But there’s a catch: this feature isn't on by default in most organizations. Your Teams administrator has to specifically enable it.
If your admin has given you the green light, the option will appear in the same More actions (...) menu you'd use in a larger meeting. Once you start, both you and the other person get a clear banner notification that the call is being recorded.
These recordings are handled just like a private meeting. The final video file gets saved to a "Recordings" folder in the OneDrive of the person who hit the record button.
A Quick Tip on Etiquette: One-on-one calls feel more personal, so getting verbal consent is non-negotiable. Before you do anything, just ask, "Hey, do you mind if I record this for my notes?" It builds trust and keeps everything transparent.
How Long Does Teams Keep My Recordings?
That's a fantastic question, and the answer is: it depends on your company's policy. To keep cloud storage from getting out of control, IT admins can set a default expiration date for all new meeting recordings.
A common default setting is 120 days. After this time, the recording is automatically sent to the recycle bin.
Don't panic, though. As the meeting organizer or recorder, you usually have the final say for your own files. Just find the recording in your OneDrive or the channel's SharePoint site, open up the details, and you can change the expiration date or set it to No expiration. I always do this for really important stuff like project kick-offs or key training sessions so they don't vanish.
Does Teams Transcribe Everything Automatically?
Not quite. Recording and transcribing are two separate actions you have to initiate. When you open the menu to start a recording, you'll see another option right there: Start transcription. You have to click them both if you want a video file and a text transcript.
Turning on transcription gives you a live, real-time transcript in a side panel during the call, which is a game-changer for accessibility. It also makes your notes searchable later. If you forget to turn it on during the meeting, you can usually still generate one afterward by opening the video file and selecting the option there.
Ready to turn your Teams recordings into accurate, searchable documents? WhisperAI uses advanced AI to deliver business-grade transcription with near-human accuracy across 100+ languages. Stop scrubbing through videos and start finding the key moments in seconds. Learn more at whisperai.com.