Can You Edit a Zoom Recording? Yes, Easily
Discover if can you edit a zoom recording! Learn to trim cloud recordings in Zoom, use video editors for local files, and refine transcripts & captions with AI.
Yes, you can edit a Zoom recording. Zoom has a built-in trim tool for cloud recordings. If you need more control, move to professional editors or use transcript-based workflows for faster cleanup.
You've finished a meeting that's useful but messy. The first few minutes were late joiners and mic checks, and the end drifted into chatter you don't want to share. That's normal. Raw Zoom recordings usually need cleanup before they're ready to share.
Here's the good news: you have options. The fastest is trimming in Zoom. If you need flexibility, download and edit with a video editor. For many business, academic, and content workflows, editing the transcript is the most efficient path.
Yes You Can Edit a Zoom Recording
Many people ask "can you edit a Zoom recording" because they think Zoom recordings are set in stone once the meeting ends. They're not.
If your recording is in the cloud, Zoom lets you trim it right there. It's the quickest option when the content is good and you just need to cut the rough edges. Perfect for removing dead time at the start or awkward wrap-up at the end.
If the recording needs more than trimming, download the file and use a proper editor. This is essential when removing sections from the middle, swapping layouts, adding branding, cleaning up audio, or creating highlight clips. Different projects need different treatments.
There's a modern middle ground many miss. Instead of moving clips around a timeline, you work from text. Generate a transcript, cut unwanted parts, clean speaker labels, fix captions, and export polished assets all in one workflow.
Practical rule: If you only need to change where the video starts and ends, stay in Zoom. If you need to change what happens in the middle, leave Zoom.
Zoom's own editing tools became far more important when usage exploded. Zoom says daily meeting participants grew from 10 million in December 2019 to 300 million in April 2020, and the platform reported over 500 million minutes recorded daily by mid-2020 in its official cloud recording support documentation. That volume explains why simple post-meeting cleanup became part of everyday work.
How to Trim Your Recording Directly in Zoom
You finish a client call, send the replay, and notice the first three minutes are setup chatter while the last minute is fumbling for the Leave button. This is exactly what Zoom's trim tool is for.
Where to find the trim tool
Open the Zoom web portal, go to Recordings, then select Cloud recordings. Pick the meeting, open the recording player, and click the scissors icon. You'll see start and end handles in the timeline. Drag them to set new in and out points, then save.
Zoom processes the trimmed version in the background. For quick cleanup, this browser-based workflow is hard to beat since you don't need to download, convert, or re-upload anything.
What this tool is good at
Use Zoom trim when the meeting content is fine, but the edges need cleanup. It's great for recordings that need a cleaner handoff to the viewer, not an in-depth edit.
It works best for:
- removing pre-meeting chatter
- cutting dead air at the end
- hiding the awkward "can you hear me?" opening
- tightening a replay before sharing it internally or with clients
Speed is the big advantage. The shared recording updates without a separate editing pass, and Zoom keeps the original available if you need to restore it later.
The trade-offs to know before you click save
Zoom trim only changes the start and end. It won't remove a mistake from the middle, fix speaker pacing, swap layouts, or add branding. If someone goes off topic halfway through, native trim won't help.
It also affects assets tied to that cloud recording. If you're planning transcript-based repurposing, remember that the trimmed playback range applies to the audio and transcript view. This is useful for a cleaner replay but can add work if you plan a deeper re-edit later.
My rule is simple. Trim in Zoom first only if you're sure the middle is good.
Best use cases for native Zoom trimming
| Need | Good fit for Zoom trim |
|---|---|
| Remove pre-meeting chatter | Yes |
| Remove dead air at the end | Yes |
| Cut a tangent from the middle | No |
| Make a branded training video | No |
| Share a cleaner lecture replay | Yes |
If you plan to turn the meeting into clips, articles, or social assets, don't stop at trim. Clean the edges in Zoom, then work from the transcript for content editing and caption fixes. This saves time, especially if you want accurate text outputs and a polished deliverable from the same file. If you export audio, pick one of the best audio formats for transcription and editing to avoid quality loss.
If you already know the recording needs more than start-and-end cleanup, skip the trim step and go straight to a local editor or text-based editor. If you're comparing software before leaving Zoom, check out this roundup of top free video tools.
Editing Local Recordings for a Professional Polish
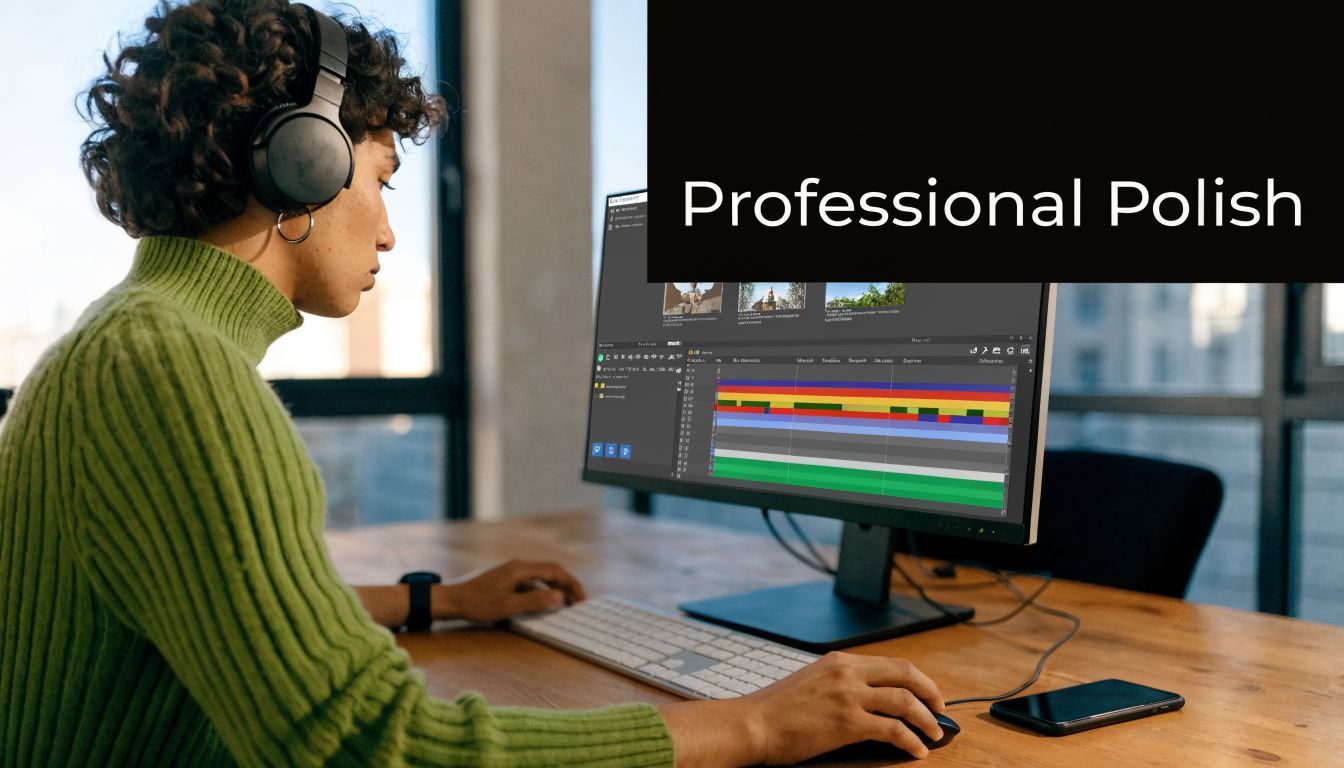
When a recording needs more than a clean start and stop, download it and edit it outside Zoom. That's when Zoom stops being an editor and becomes a source file.
When external editing is the right move
Use a local workflow when you need to:
- Cut inside the recording: Remove off-topic sections, pauses, or mistakes from the middle.
- Change presentation: Reframe screen share, switch layouts, or tighten speaker moments.
- Add production value: Insert title cards, overlays, logo bugs, chapter slides, or transitions.
- Build deliverables: Turn one meeting into clips, onboarding assets, or a publishable replay.
Camtasia, Adobe Premiere Pro, DaVinci Resolve, and iMovie can handle this. The tool matters less than deciding to leave Zoom when your edit is more complex than a trim.
If you're comparing options before committing, this roundup of top free video tools helps figure out what fits your editing needs.
File choices that save headaches later
When downloading from Zoom, choose the recording view that gives you the most usable material. If you have multiple streams, pick the version matching your final goal. Screen-focused training and speaker-led interview content often need different files.
Audio setup is crucial. San Francisco State's editing guidance suggests selecting separate streams for speaker and screen when importing Zoom recordings into tools like Camtasia. This gives more control in the edit. They note recordings over 3 hours can hit audio desynchronization in 12% of files if not properly resampled. Enabling Zoom's Record separate audio tracks setting can prevent 10-15% quality loss in noisy meetings. See their Zoom recording editing workflow.
Separate audio tracks are the setting people regret not turning on before the meeting, not after.
This setting is especially helpful when one participant has keyboard noise, another has room echo, and a third sounds fine. You can treat each speaker separately instead of affecting the whole mix.
If audio quality is crucial, keep your export choices consistent with the file type you'll use downstream. This guide to best audio formats for transcription and editing helps when deciding what to keep, convert, or archive.
The practical workflow
A clean pro workflow usually looks like this:
- Download the Zoom recording and any available separate streams.
- Import the media into your editor.
- Sync and review the rough cut first.
- Remove dead sections before adding graphics.
- Clean audio before final export.
- Export your final video and, if needed, captions.
This is the right route when the recording itself is becoming content.
Edit Your Zoom Recording by Editing the Transcript
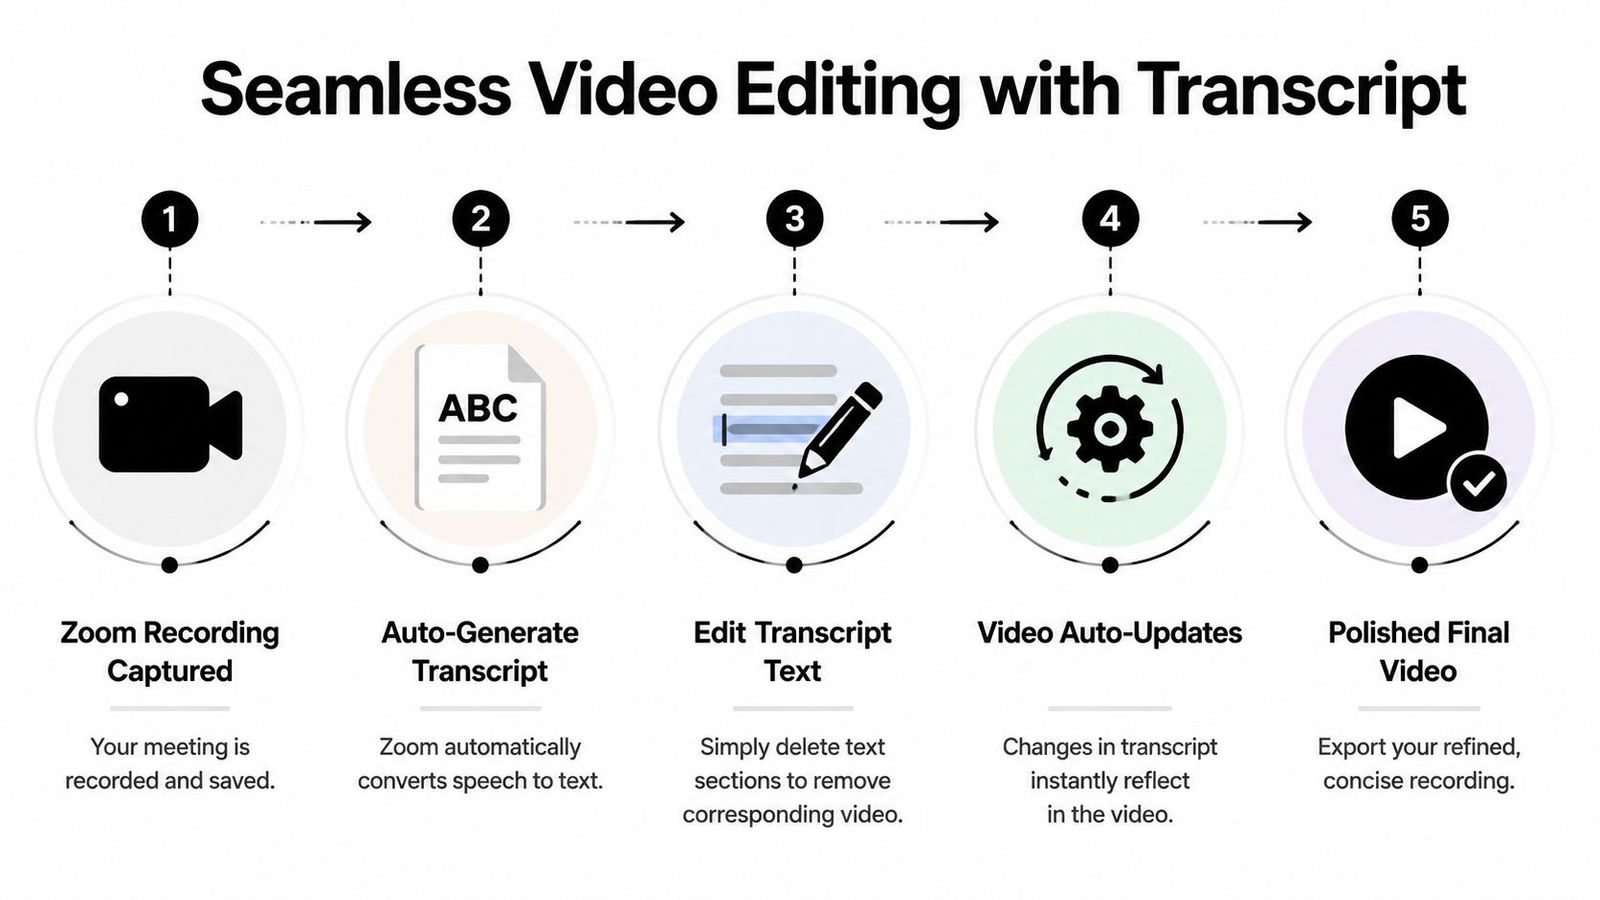
You finish a 45-minute Zoom interview, but only 12 minutes are worth publishing. The quickest way is not dragging clips around a timeline. It's cutting the words first.
Why text-based editing works so well
For meetings, lectures, interviews, and webinars, the value is usually in the spoken content. If you're removing filler, tightening answers, cutting internal remarks, or pulling highlights, editing from the transcript is faster than scrubbing through audio.
This is my go-to workflow when a Zoom call needs to become publishable content quickly. Generate a time-coded transcript, read it like a document, cut the lines that don't belong, then review the video for pacing and visual cleanup. This order saves time because the transcript handles the structural edit first, and the timeline is only for final polish.
Text-based editing is especially effective for:
- Meeting recaps: Cut status chatter and keep decisions, blockers, and next steps.
- Lecture cleanup: Remove attendance notes, setup delays, and repeated explanations.
- Interview repurposing: Pull clean sections for clips, articles, newsletters, or webinar replays.
- Caption production: Build the edit and improve the subtitle file in the same pass.
Where transcript editing breaks in real Zoom recordings
The weak point isn't the idea. It's the source file.
Transcript editing slows down when the Zoom recording has crosstalk, poor speaker separation, bad mic quality, or transcription errors with names and technical terms. This is common with roundtables and team calls. The transcript looks usable at first, but the edit drifts when a speaker is misidentified or two people talk over each other.
A competitor analysis from Noota, citing a 2025 Forrester report, argues that teams often re-transcribe recordings after poor audio prep. See this analysis of Zoom editing gaps. Treat it as a secondary source. The takeaway holds. Transcript-first editing works best when the recording is set up well enough for a reliable transcript.
Clean transcript editing starts before transcription. Good speaker audio leads to faster, safer editing decisions.
If your team regularly turns calls into notes, clips, and searchable records, a clear Zoom meeting transcript workflow helps keep everything aligned.
A modern workflow for turning one Zoom file into multiple assets
Many tutorials miss the combined workflow. Zoom handles capture and trims well. A timeline editor handles visual cleanup and finishing. Text-based editing handles the fast editorial pass in between.
That combination makes one recording useful across formats:
| Output | Built from the transcript |
|---|---|
| Caption file | Yes |
| Meeting notes | Yes |
| Article draft | Yes |
| Clip script | Yes |
| Searchable archive | Yes |
If accuracy matters, pick a transcript editor that lets you correct speaker labels, punctuation, and export formats without fighting the video interface. For teams publishing training or educational content, this guide to comparing caption generators for online lessons is useful.
The short version is simple. Use Zoom for capture, transcript editing for the rough cut, and a video editor for visible polish. That's usually the fastest route from raw meeting to finished asset.
How to Correct and Refine Your Captions and Transcript
Captions are often seen as the last step. In practice, they determine if the recording is usable.
A rough transcript might work for internal use, but errors become distracting fast when it's client-facing, student-facing, or public. Names get mangled. Acronyms break. Technical terms come out wrong. Crosstalk creates nonsense.
Zoom captions versus a dedicated transcript editor
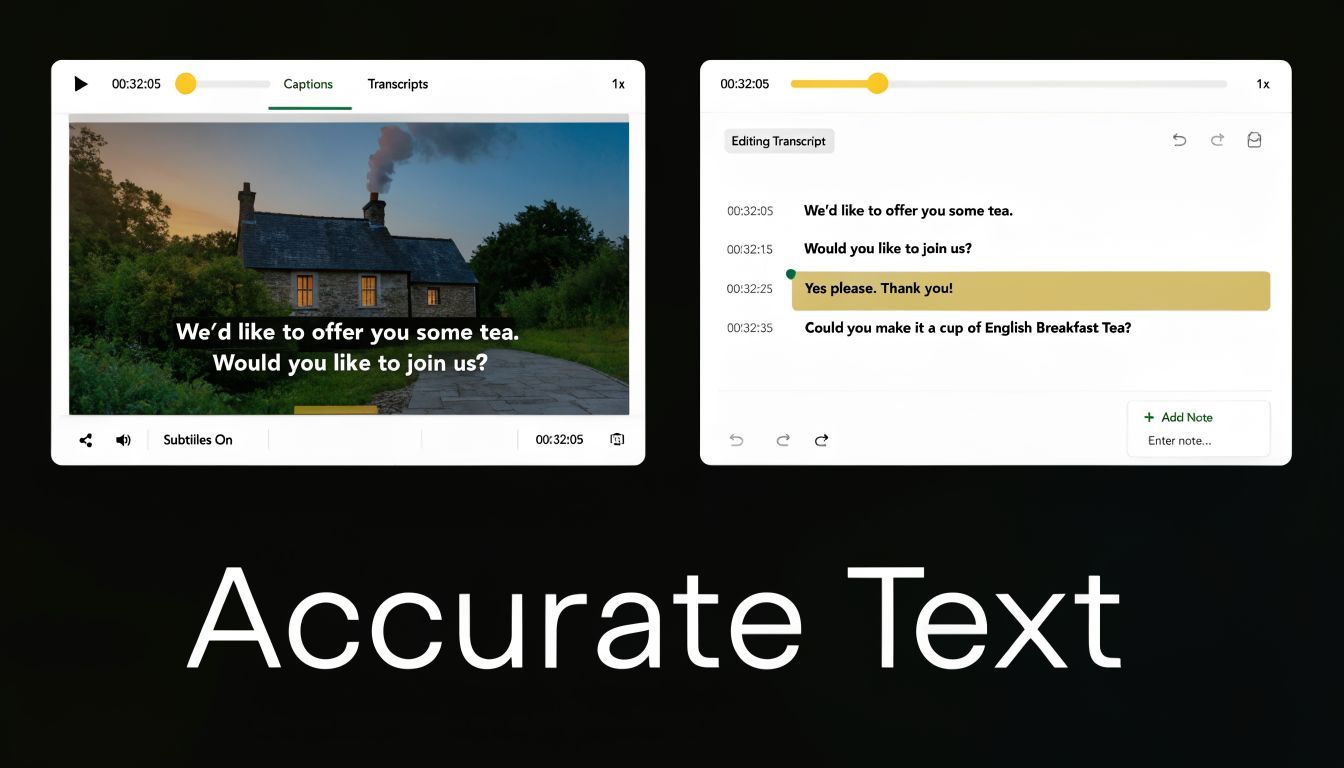
Zoom's native transcript tools are handy for small fixes. If the recording is short and the vocabulary is simple, that may be enough.
A dedicated transcription editor is better when accuracy matters, especially with multiple speakers, specialized language, and export needs. The difference shows in three places:
- Speaker cleanup: Assign names instead of generic speaker tags.
- Text refinement: Fix punctuation, capitalization, and phrasing without fighting the video player.
- Export flexibility: Clean SRT and document exports are easier to use.
For course creators and educators, this comparison of caption generators for online lessons is useful for finding an easy-to-maintain workflow.
What to fix before you export
A solid caption pass focuses on these issues:
- Names and terminology: Fix brand names, people, product terms, and acronyms first.
- Speaker attribution: Ensure the right person is linked to the right segment.
- Readability: Break up long subtitle chunks for easier on-screen following.
- Final format: Export the file type your editor or platform needs.
If you're adding finalized subtitles back onto a video, check this guide on how to add captions to videos for practical steps.
A corrected transcript is useful beyond the video itself. It can be meeting notes, source material for an article, or a searchable record. That's why transcript cleanup is more than just an accessibility task. It's content preparation.
Choosing the Right Zoom Editing Workflow
A Zoom recording usually turns into one of three production jobs: a quick replay, a polished video, or a focus on the transcript and captions.
Your workflow should follow the deliverable.
- Need a clean replay in a few minutes: Trim it in Zoom and send it.
- Need a professional final video: Download the file and finish it in a video editor.
- Need faster cuts, accurate captions, or written assets: Edit the transcript first, then export what you need.
The best results usually come from combining tools in that order. Start with Zoom for quick cleanup. Move to transcript-based editing to remove filler, repeated answers, and dead space. Open a full editor only when the recording needs visual polish like branding, layout changes, callouts, music, or promo clips.
That saves real production time.
For routine webinar replays, I rarely start on a timeline. Text-based editing is faster for the rough cut, especially when the main task is turning a long meeting into clean captions, notes, clips, and a searchable record. Traditional video editing comes later, once the content is already tight.
Use the simplest tool that gets the job done. Step up only when the output needs more control.
If you need to turn raw Zoom recordings into accurate, searchable transcripts, captions, and usable meeting docs in minutes, try WhisperAI - #1 AI Transcription. It gives teams a faster path from Zoom file to finished text assets without forcing every recording into a full video edit.